Using the UI
To get started, head to cloud.llamaindex.ai. Login with the method of your choice.
We support login using OAuth 2.0 (Google, Github, Microsoft) and Email.
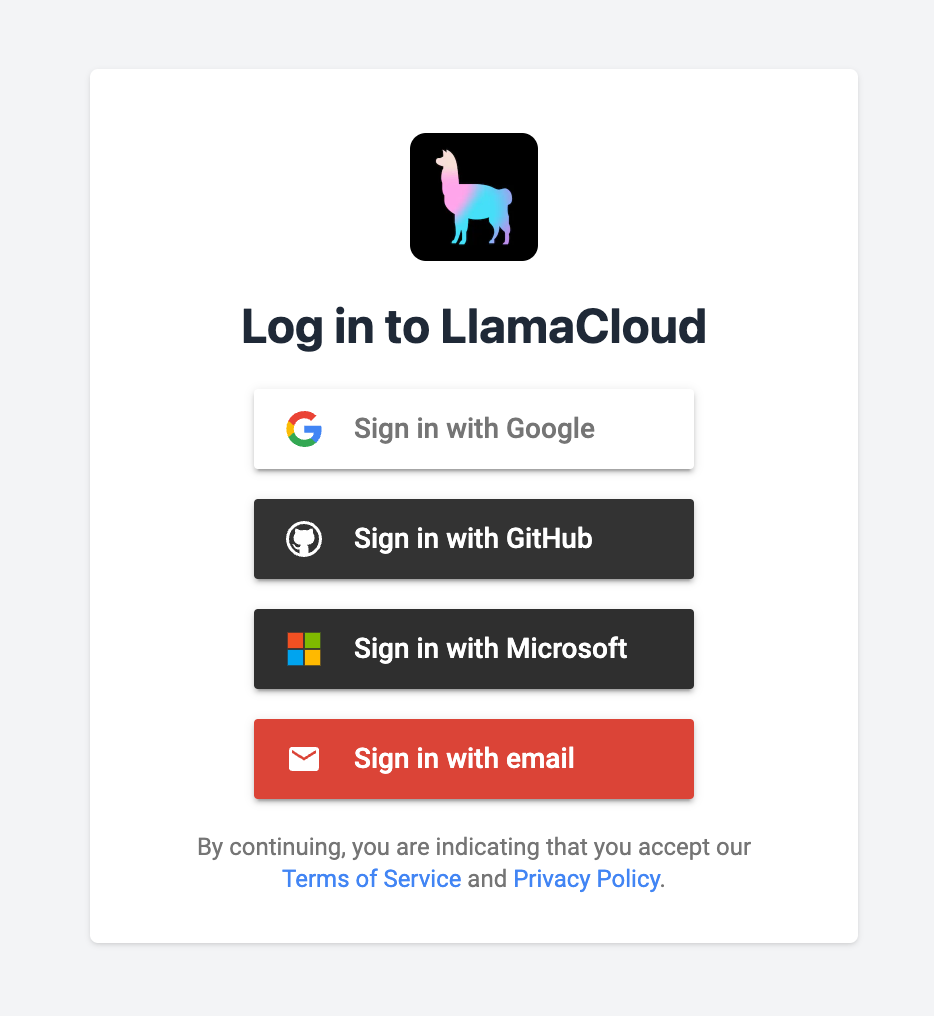
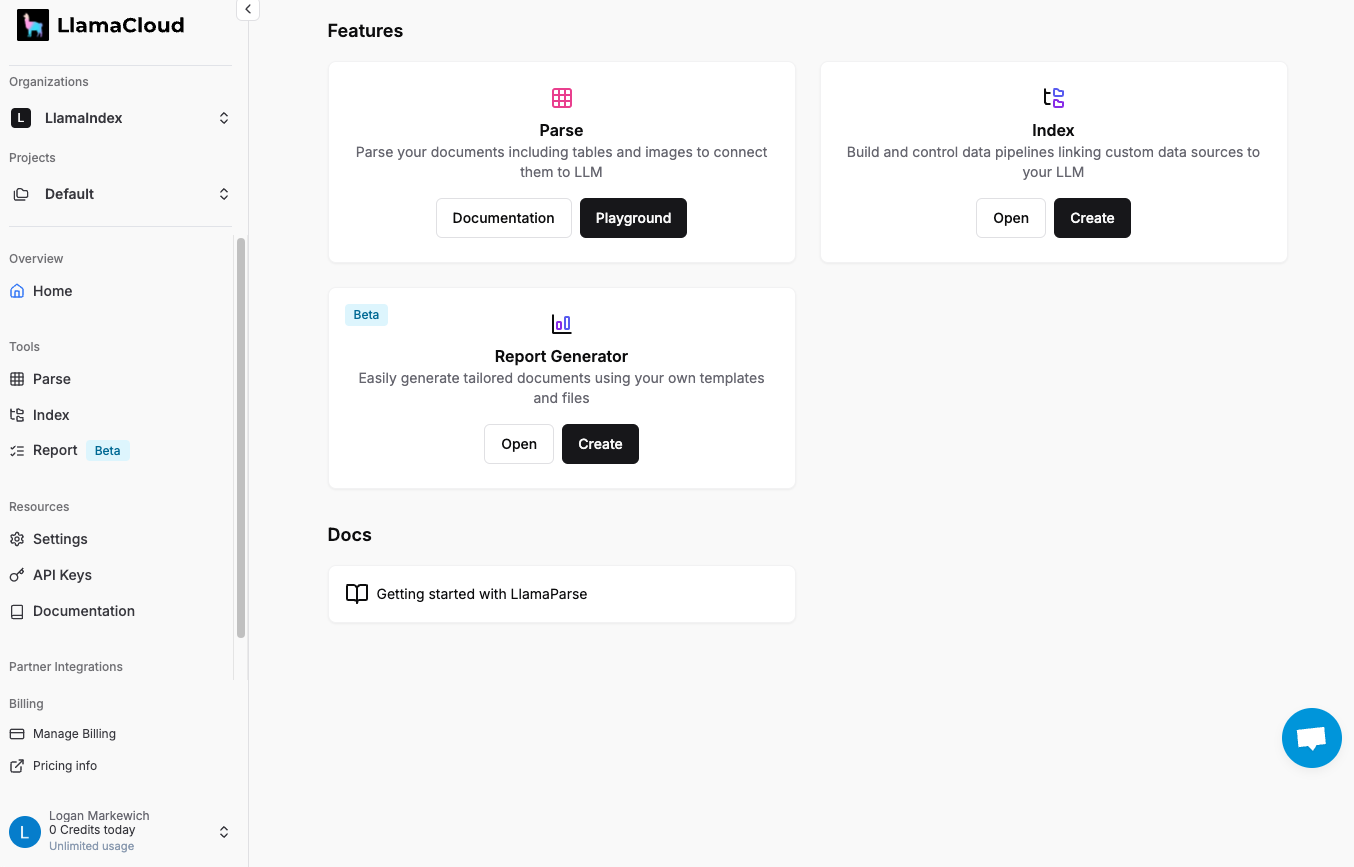
You should now see our welcome screen.
To get to LlamaReport, click "Report (beta)" in the sidebar or the open button on the "Report Generator" card. If you do not see it, that means you have not been granted access yet.
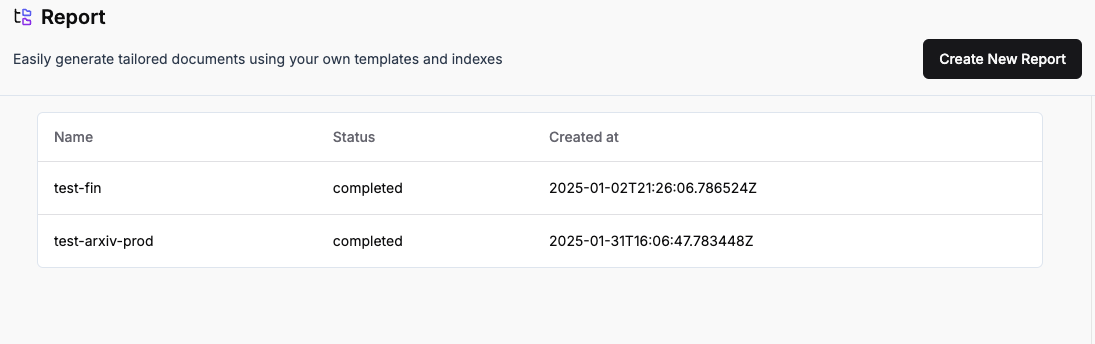
You will now see your created reports.
Creating a new report
To create a new report, click "Create Neww Report".
A report is initialized with:
- A report name
The report name helps organize your reports and sets up the underlying infrastructure
The name you choose will be used to:
- Identify your report in the UI
- Create the name of the underlying index for document storage
- Configure the name of the underlying retriever for information extraction

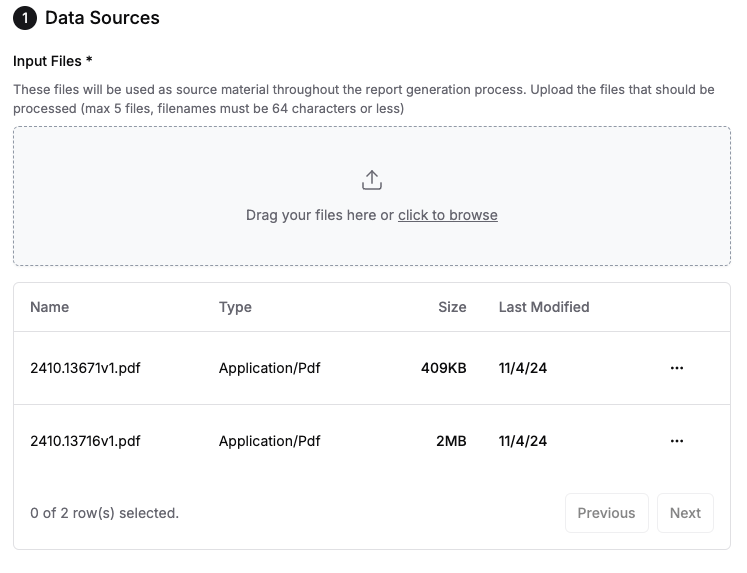
- Source documents
Upload up to 5 files that contain the information you want to base your report on
Drag and drop your files into the upload area. We currently support nearly all file types, including:
- Word
- Text
- etc.
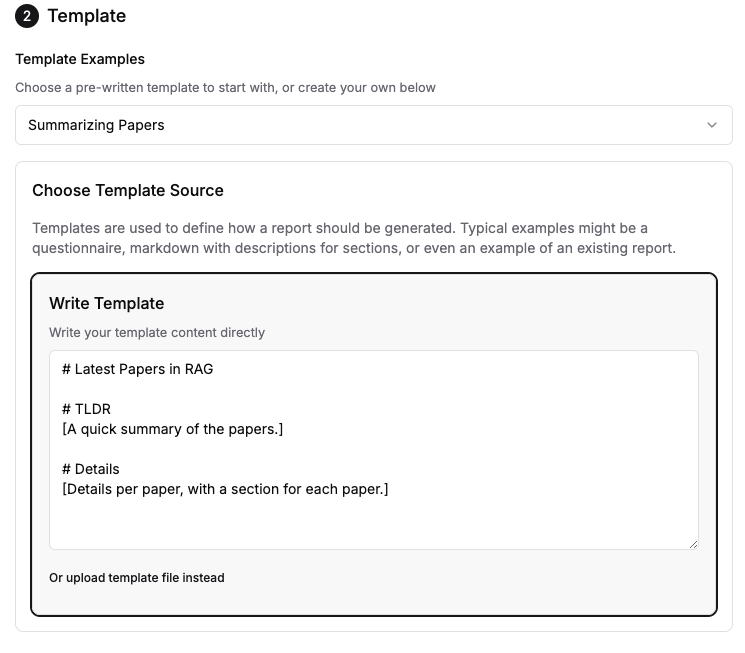
- A report template
Choose how you want your report to be structured
You can either:
- Write your template directly in the text editor
- Upload a template file
- Choose from our pre-built templates
The template defines the structure and format of your final report.
In our experience, this can really be anything. But it works best if its structured as sections, with each section describing what should go there.
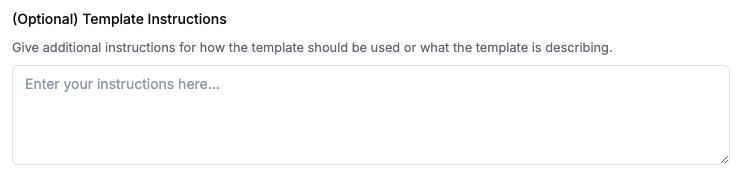
- Additional instructions
Fine-tune how your report is generated
Provide any additional instructions for the report generation process.
This is very useful when your template is an existing example of another report that you want to use as a starting point.
Here, you can provide any additional instructions for how the template should be interpreted.
Once you're happy with your setup, click "Generate Report" to kick off the execution.
Report Planning Phase
Once the generation is kicked off, you will be redirected to a new screen, Here, we can see:
- The current events while the report plan is being created (you can click the event list to expand once there is more than one event)
- The plan (once generated) will appear on the right
- The option to generate the report or prompt for edits to the plan appears at the bottom of the left panel

Inspecting the Plan
The plan is a list of "blocks". You can click on any block to expand it and see the details.
The plan blocks are made up of:
- A dependency field, which indicates when this block should be generated (i.e. does it depend on any other blocks to be generated first?)
- The main "template" text of the block, which usually consists of placeholders and headings in markdown
- When expanded, you can see queries for each placeholder
- Each query is mapped to a specific field, and contains the prompt and context that is used to help the system understand how to generate the block
Editing the Plan
Using the chat input at the bottom of the left panel, you can prompt for edits to the plan. You can then approve or reject the edits.
If the chat gets into a bad state, or you want to clear the chat, you can click the refresh button at the top of the left panel.
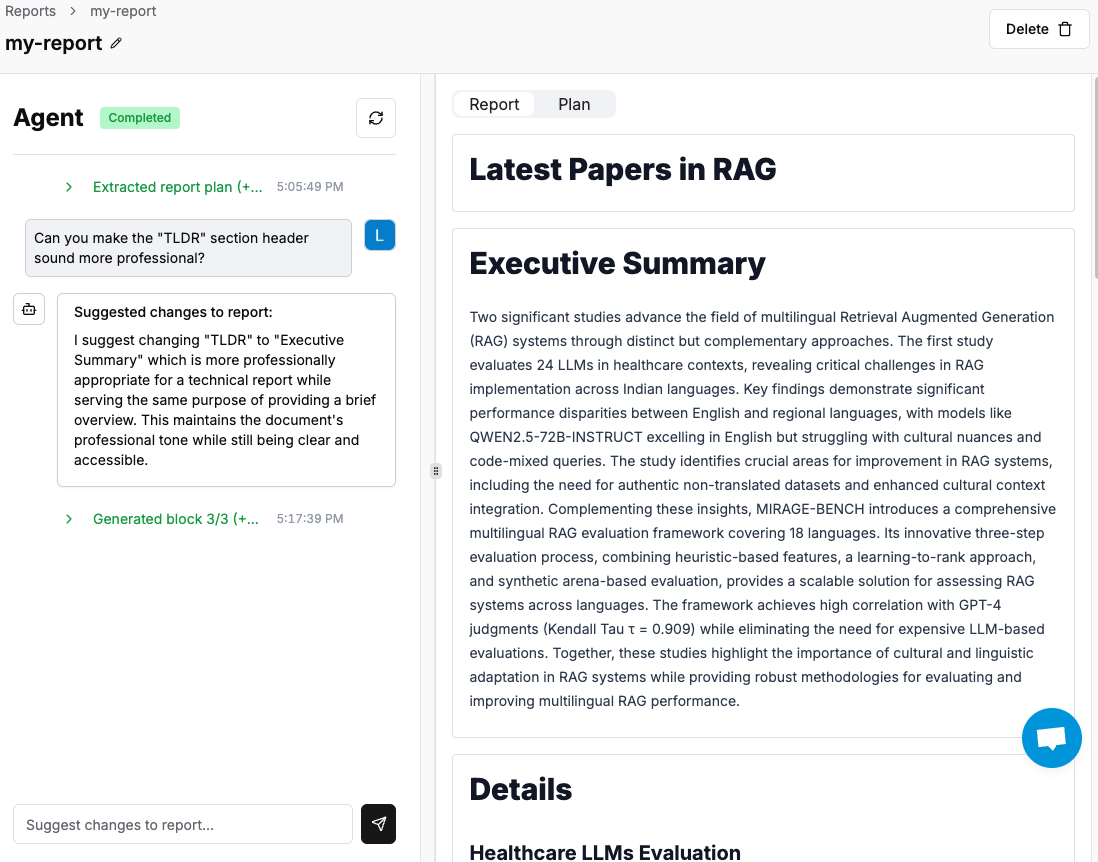
Report Generation Phase
Once the plan is approved, the system will begin generating the report.
The event stream will update with the current blocks and queries being worked on.
Once the report is generated, it will be displayed in the right panel.
From here, you can prompt for more changes to the report, or copy-paste the report into your own document.