Using the UI
To get started, head to cloud.llamaindex.ai. Login with the method of your choice.
Login
We support login using OAuth 2.0 (Google, Github, Microsoft) and Email.
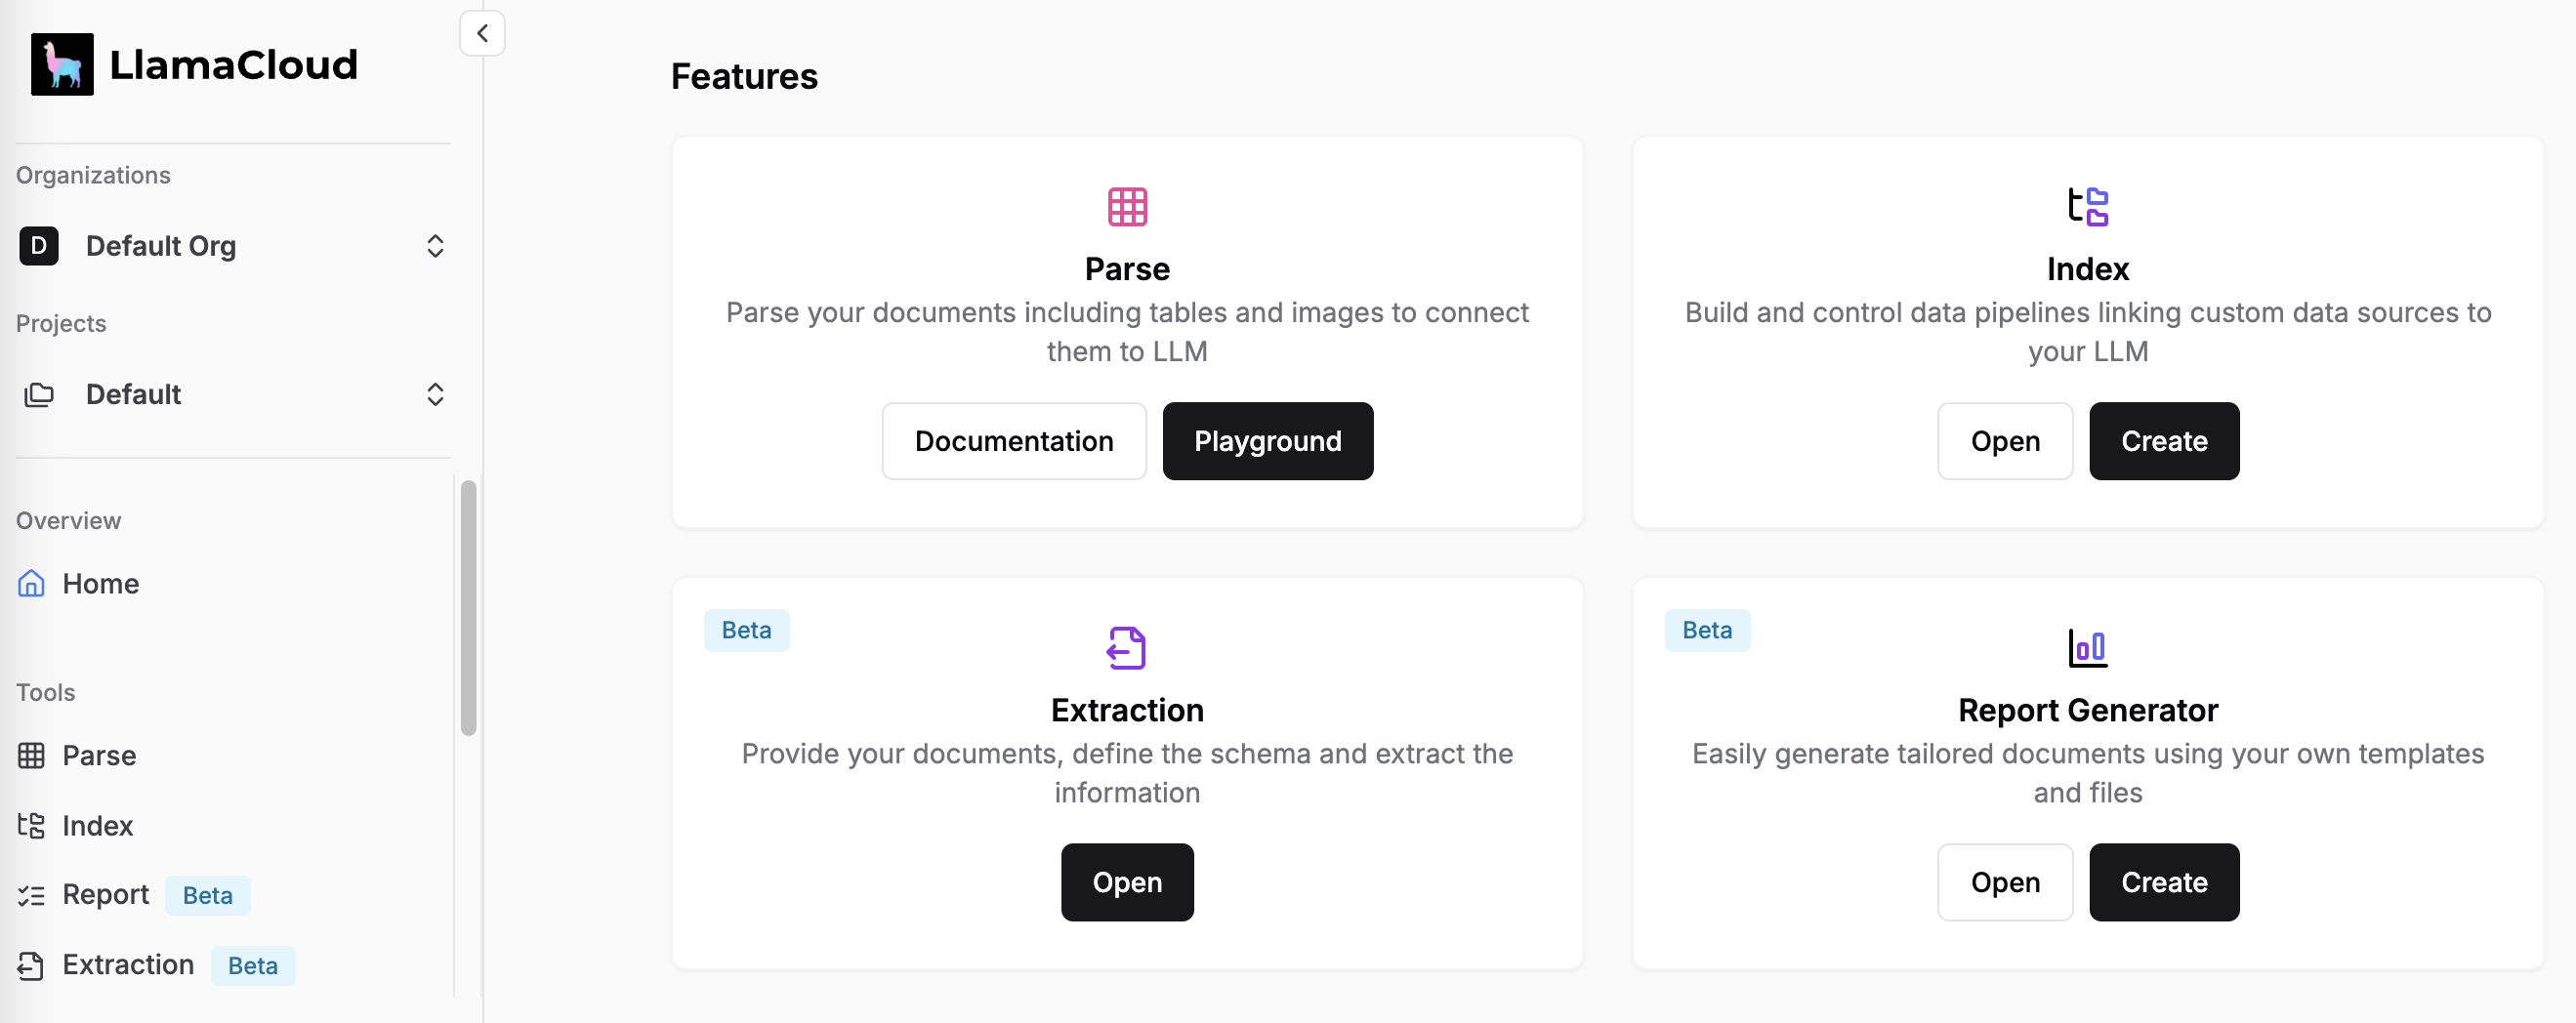
You should now see our welcome screen.
Creating an Extraction Agent
An Extraction Agent is a reusable configuration for extracting data from a specific type of content. This includes the schema you want to extract and other settings that affect the extraction process.
To get to extraction, click "Extraction (beta)" on the homepage or in the sidebar.
You will now have an option to create a new Extraction Agent or see existing ones if previously created. Give a name to your agent that does not conflict with existing ones and click "Create". This will take you to
Defining the Extraction Schema
The schema is the core of your extraction agent. It defines the structure of the data you want to extract. We recommend starting with a simple schema and then iteratively improving it.
Using the Schema Builder
The simplest way to define a schema is to use the Schema Builder. The Schema Builder supports a subset of the allowable JSON schema specification but it is sufficient for a wide range of use cases. e.g. the Schema Builder allows for defining nested objects and arrays.
To get a sense for how a complex schema can be defined, you can use one of the pre-defined templates for extraction. Refer to Schema Design Tips for tips on designing a schema for your use case.
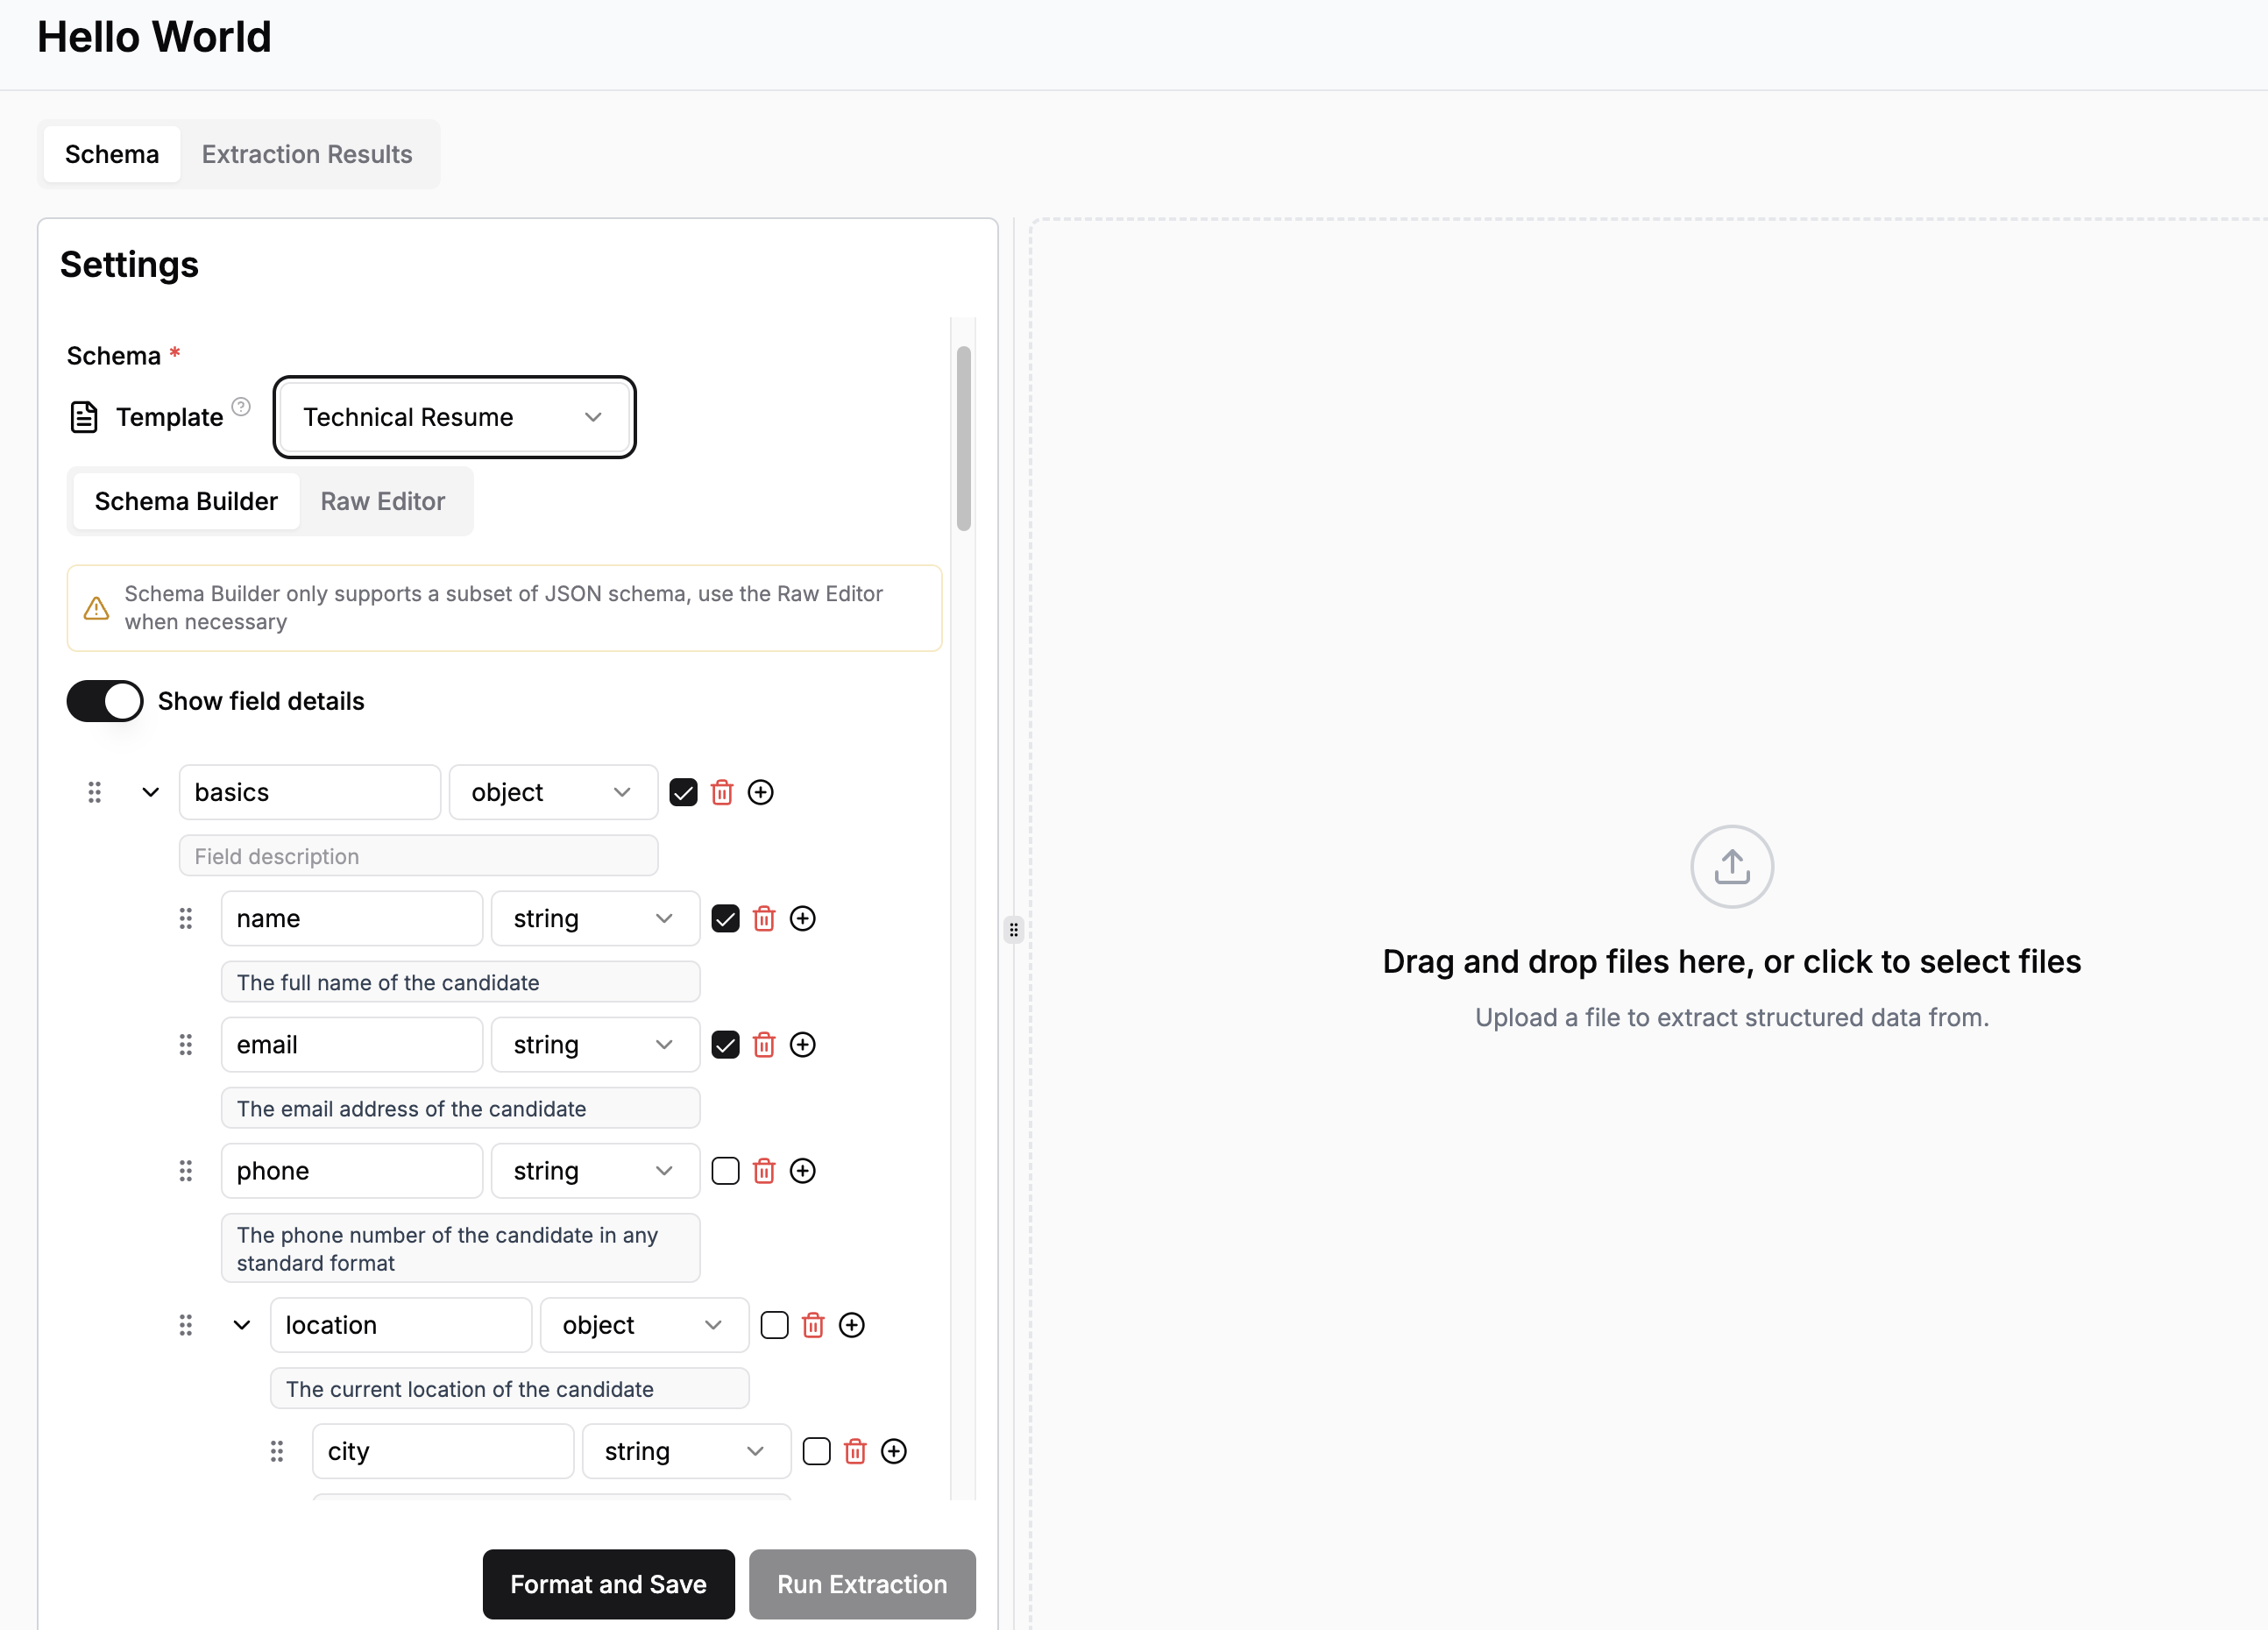
Click on the "Template" dropdown and select the Technical Resume template:
Notice how location is a nested object within the Basics section.
Using the Raw Editor
The Raw Editor and the Schema Builder are kept in sync. This means that you can use the Schema Builder to define a schema and switch to the Raw Editor to see the JSON schema that is being used and further edit it. And vice versa.
There are also cases where the Schema Builder is not sufficient (e.g. Union and Enum types are not supported in the Schema Builder), or you already have a JSON schema that you want to use. In these cases, you can simply paste your schema into the Raw Editor.
Saving the Extraction Agent
To save the configuration of your Extraction Agent, use the "Publish Configuration" button at the bottom of the "Agent Configuration" pane. This will convert the schema into a standardized format, save the current state of the Extraction Agent and make it available to the Python SDK. Note that any changes that you make without saving the Agent state, will be used only when running extractions with the "Run Extraction" button.
Note that every time you publish a configuration, this will immediately result in the Python SDK using the new schema/settings for the Extraction Agent.
Restoring a previous version of the Extraction Agent Configuration
Every run of an Extraction Agent stores the configuration that was used. In case you want to use a schema or setting from a previous run, from the "Extraction Result" tab you can identify the specific run, click the "eye" icon in the "Actions" column and click "Edit" in the detail view that will open. This will bring you back to the Agent Configuration section, populated with the schema and settings from the previous run.
Other Settings
Refer to Options for other Extraction Agent options that affect the extraction process.
Running an Extraction
Once you are satisfied with your schema, upload a document and click "Run Extraction". This can take a few seconds to minutes depending on the size of the document and the complexity of the schema.
Once the extraction is complete, you should be able to see the results in the middle pane.:
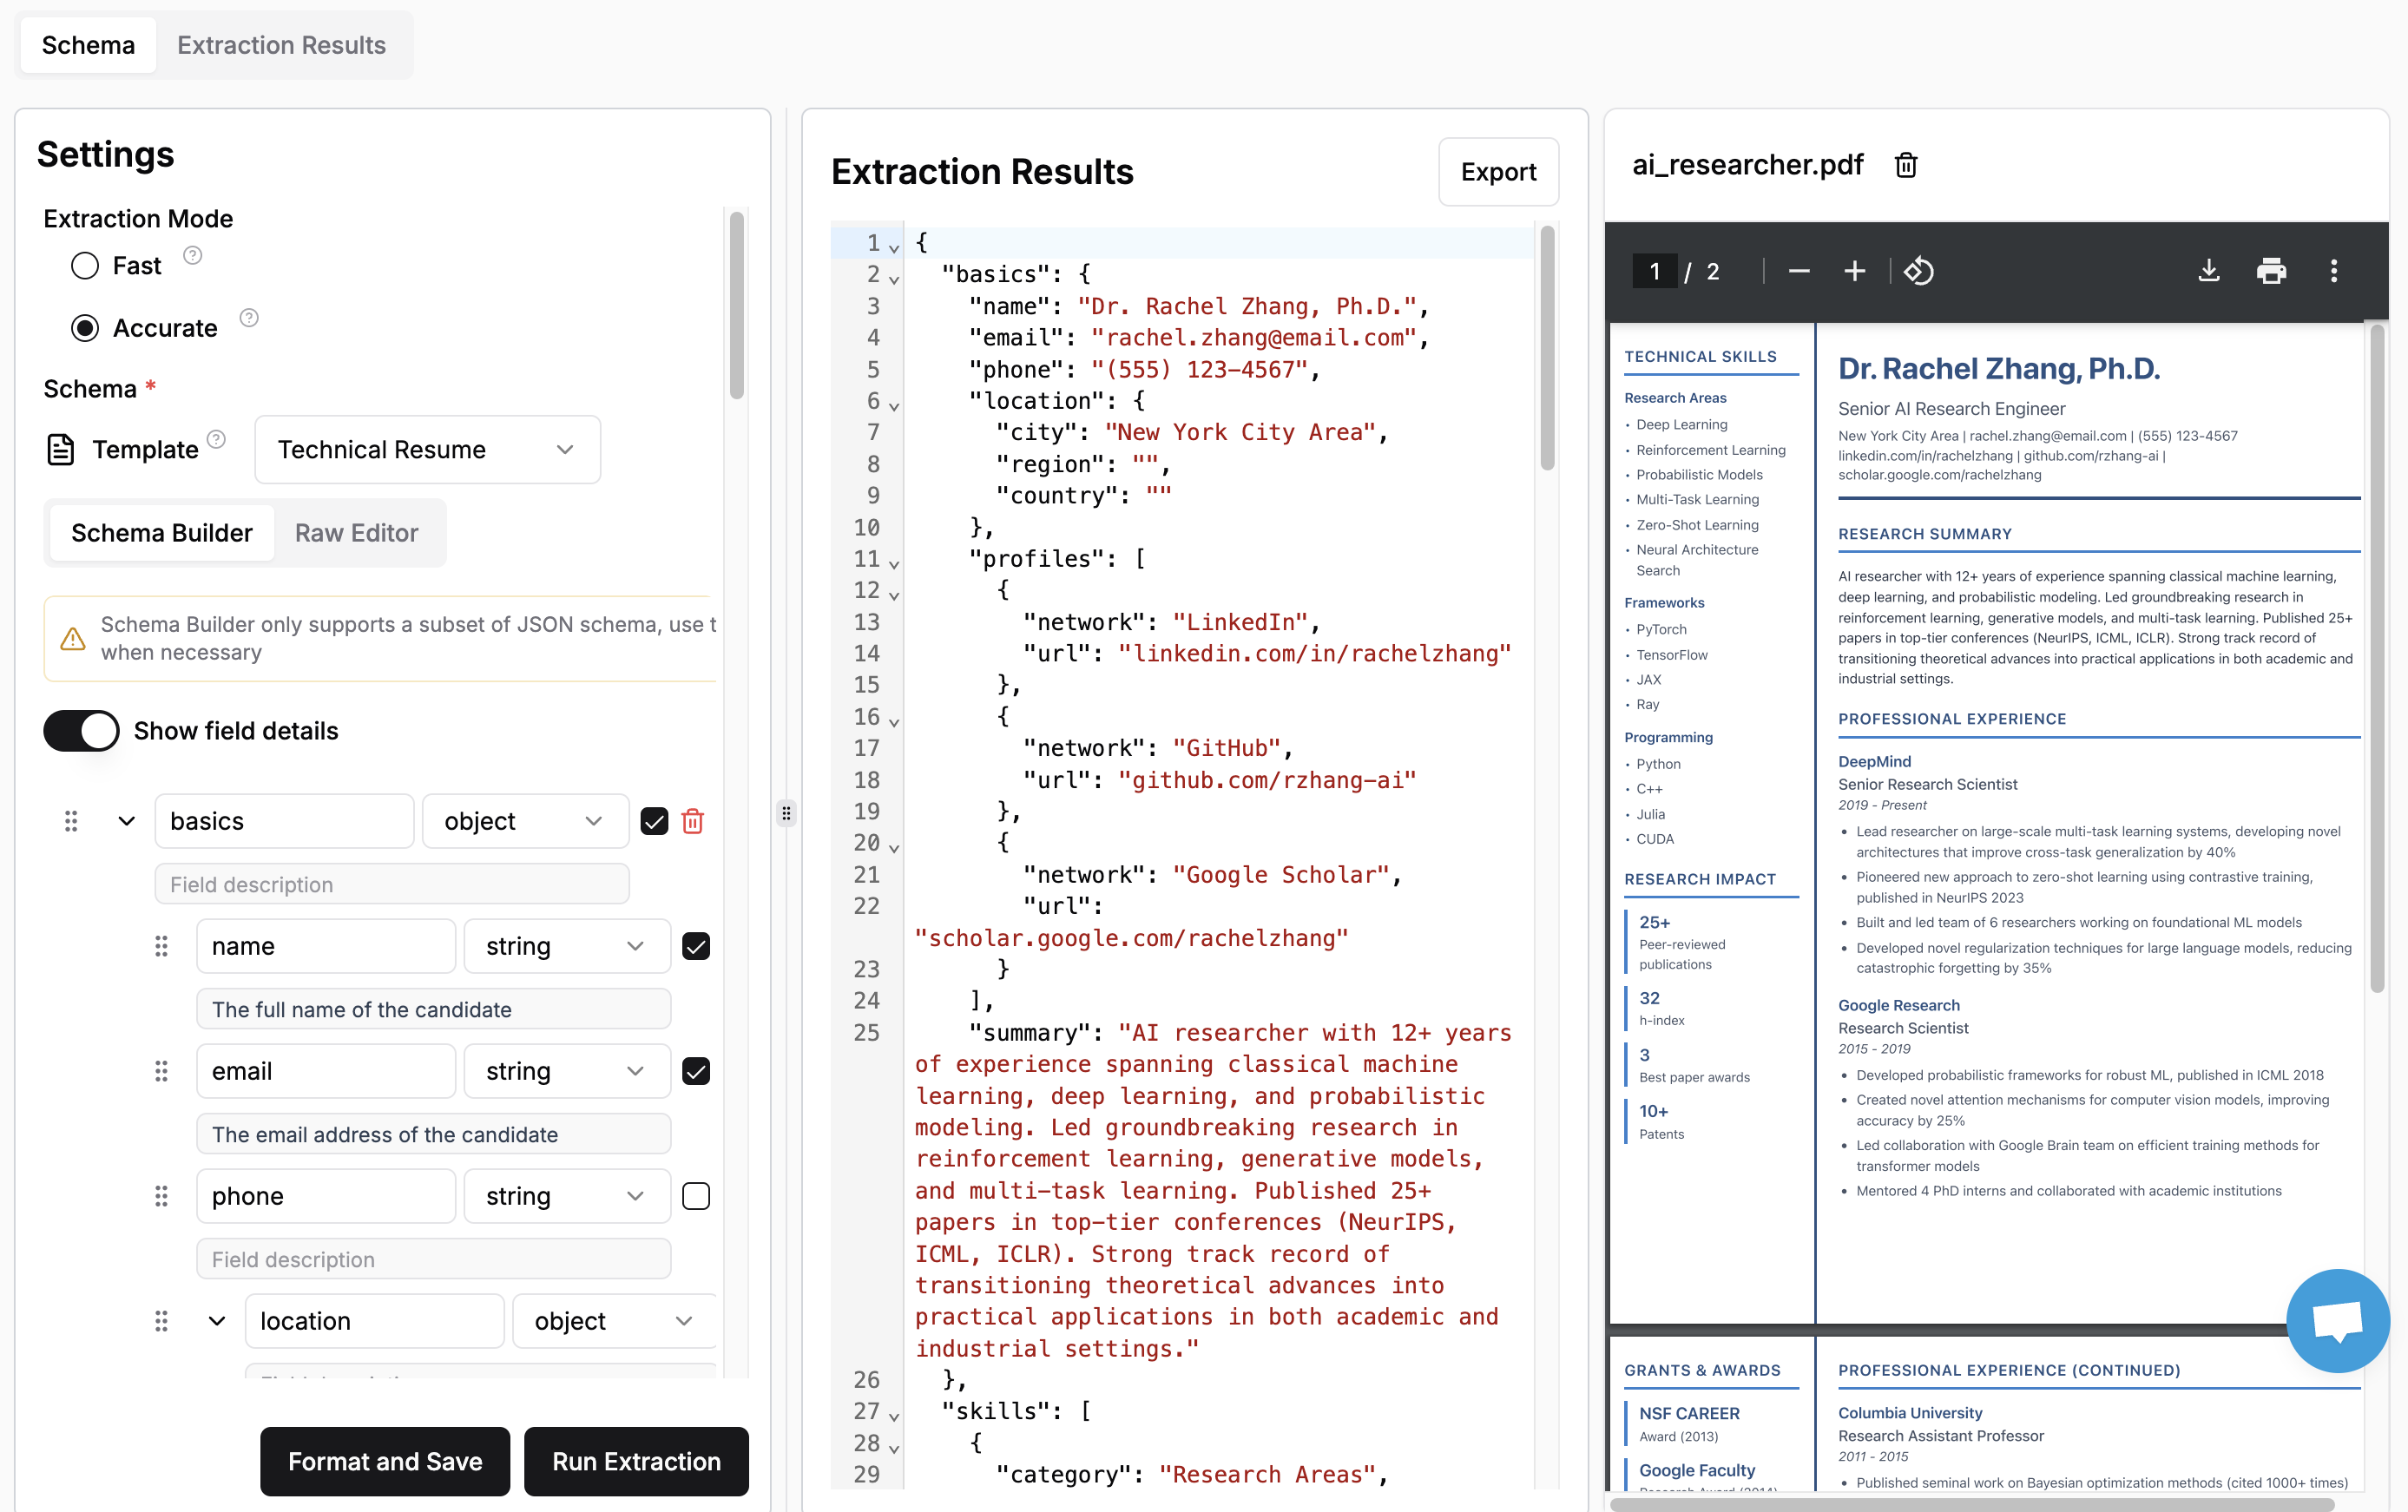
The first run on a given file will take additional time since we parse and cache the document. This might be noticeable for larger documents. Subsequent schema iteration should be faster.
Viewing Past extractions
You can also view past extractions for your agent by clicking on the "Extraction Results" tab. This will show you all the extractions that have been run using this agent. You can view the schema/settings used for the extraction and edit it to run a new extraction.
Next steps
The web UI makes it easy to test and iterate on your schema. Once you're happy with a schema, you can scalably run extractions via the Python client.